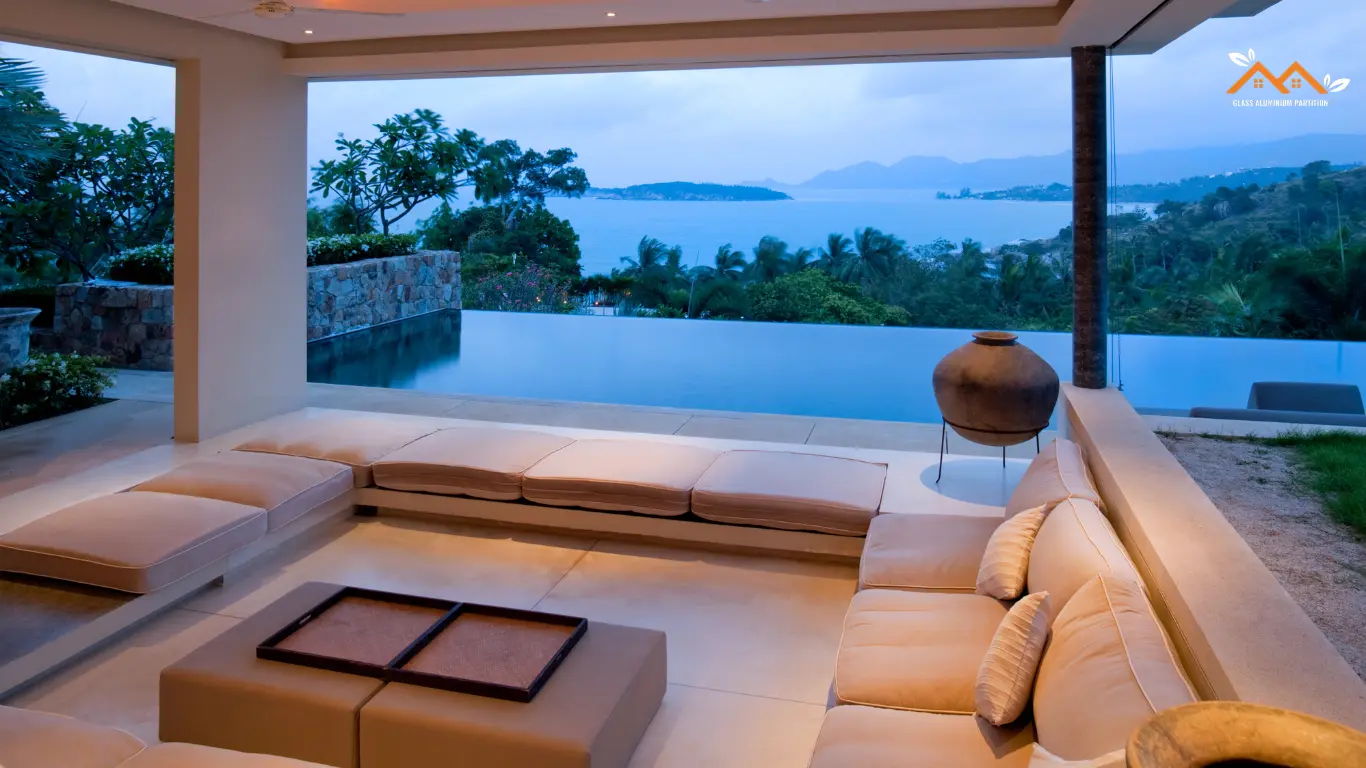
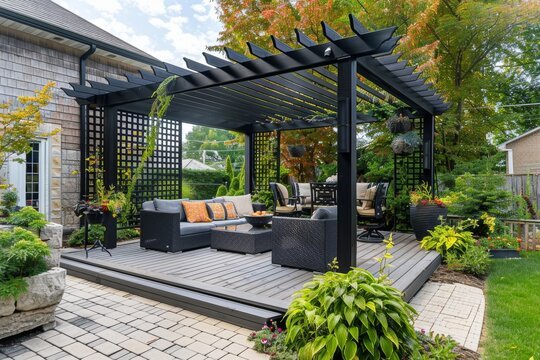
Aluminium pergolas are a stylish and long-lasting addition to outdoor spaces, combining aesthetic appeal with functionality. Whether you plan to install one yourself or hire experienced professionals like Glass Aluminium Partition, understanding the installation process ensures a smooth experience. This guide covers everything you need to know, from initial planning to final touches.
Step-by-Step Guide to Installing an Aluminium Pergola
1. Initial Planning and Design
Before starting the installation, careful planning is crucial. Consider the following:
- Size and Location: Choose a location that is level, spacious, and free from obstructions like tree branches or underground utilities.
- Design Preferences: Aluminium pergolas come in various styles, from modern minimalist designs to classic decorative options.
- Regulations and Permits: Some areas require permits, especially for larger structures. Check local regulations before proceeding.
2. Tools and Materials Needed
Having the right tools and materials ensures a smooth installation process. You will need:
- Aluminium pergola kit (pre-measured for your space)
- Power drill and screws
- Concrete mix for securing posts
- Measuring tape and level
- Anchors and bolts
- Ladder for height adjustments
3. Preparing the Ground
A strong foundation ensures durability. Follow these steps:
- Mark the Area: Use stakes and string to outline the pergola’s dimensions.
- Level the Ground: Remove any uneven surfaces using gravel or sand for a stable base.
- Concrete Footings: For added stability, dig post holes and pour concrete footings before securing the structure.
4. Installing the Pergola Posts
The vertical posts form the backbone of your pergola:
- Position the Posts: Insert them into pre-dug holes or secure them onto an existing patio surface.
- Check for Alignment: Use a level to ensure they stand perfectly vertical.
- Secure with Concrete or Anchors: For maximum stability, bolt them down or pour additional concrete.
5. Attaching the Crossbeams
With the posts in place, it’s time to assemble the framework:
- Install Primary Beams: These connect the main posts and provide the overall structure.
- Add Secondary Beams: These are typically decorative and help with shade and design aesthetics.
6. Finishing Touches
To enhance functionality and appeal, consider these additions:
- Shading Elements: Some aluminium pergolas feature adjustable louvers or retractable canopies.
- Outdoor Lighting: LED strip lights or hanging lanterns improve nighttime usability.
- Weatherproof Coating: Apply a protective finish to increase durability against the elements.
What to Expect During Installation
Understanding the installation process helps you plan accordingly:
- Timeline: Depending on complexity, installation can take between a few hours to several days.
- Noise and Disruption: Drilling and concrete setting may cause temporary disturbances.
- Professional Assistance: Hiring experts like Glass Aluminium Partition ensures a faster and error-free setup.
DIY Aluminium Pergola Installation: Is It Feasible?
Many homeowners enjoy DIY projects, but pergola installation requires specific skills. Consider:
- Technical Knowledge: Tasks include drilling, securing heavy beams, and ensuring structural integrity.
- Time Commitment: DIY installations can take longer, especially without prior experience.
- Regulatory Compliance: Verify local building codes to avoid legal issues.
While DIY can be fulfilling, professional installers can handle the project efficiently, ensuring safety and compliance.
Installation Timeline Based on Pergola Size
- Small Pergola: 1-2 days
- Medium Pergola: 2-3 days
- Large or Custom Pergola: 4+ days
Professional installation significantly reduces time compared to DIY efforts.
Professional vs. DIY Aluminium Pergola Installation
| Factors | Professional Installation | DIY Installation |
|---|---|---|
| Expert Craftsmanship | ✅ Experienced professionals ensure precise installation. | ❌ Requires advanced skills. |
| Time Efficiency | ✅ Faster completion (1-3 days). | ❌ Longer process due to inexperience. |
| Permit Handling | ✅ Professionals manage regulations. | ❌ You must secure permits yourself. |
| Cost | ❌ Higher due to labor costs. | ✅ Saves on professional fees. |
| Potential Errors | ✅ Minimal due to expertise. | ❌ Errors can lead to structural issues. |
Final Thoughts
An aluminium pergola enhances outdoor spaces by providing shade, style, and durability. Whether you choose a DIY approach or hire experts like Glass Aluminium Partition, proper planning and execution are key to a successful installation. If you’re considering professional help, reach out to ensure a hassle-free and well-structured pergola for years to come.